I saw a meme a few weeks ago that had Melbourne firmly placed in the season of “The spring of deception”. We had just had an amazing week of warm weather and …
Below you'll find a list of all posts that have been categorized as “Recipes”
I saw a meme a few weeks ago that had Melbourne firmly placed in the season of “The spring of deception”. We had just had an amazing week of warm weather and …
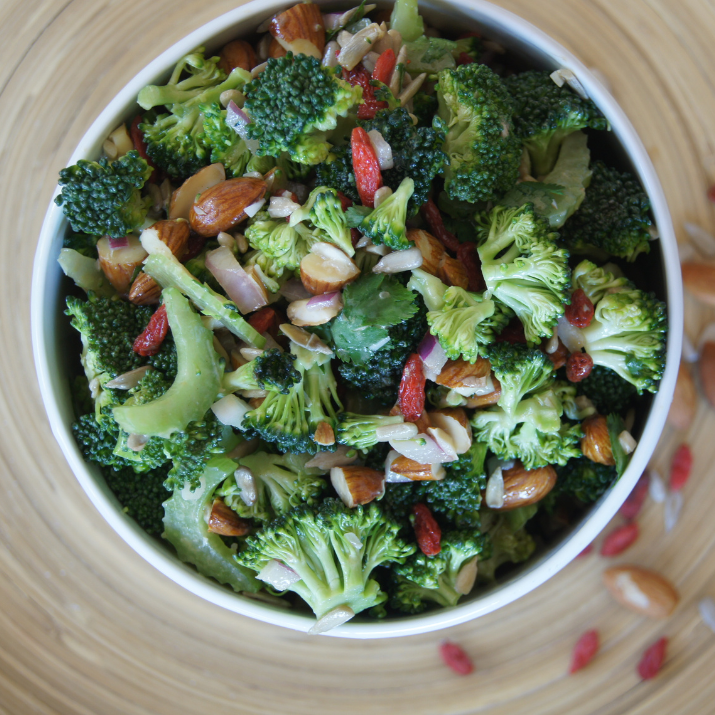
This crunchy broccoli salad of mine was originally published on Essential Kids a number of years ago and I have linked to it a number of times because while it is definitely …
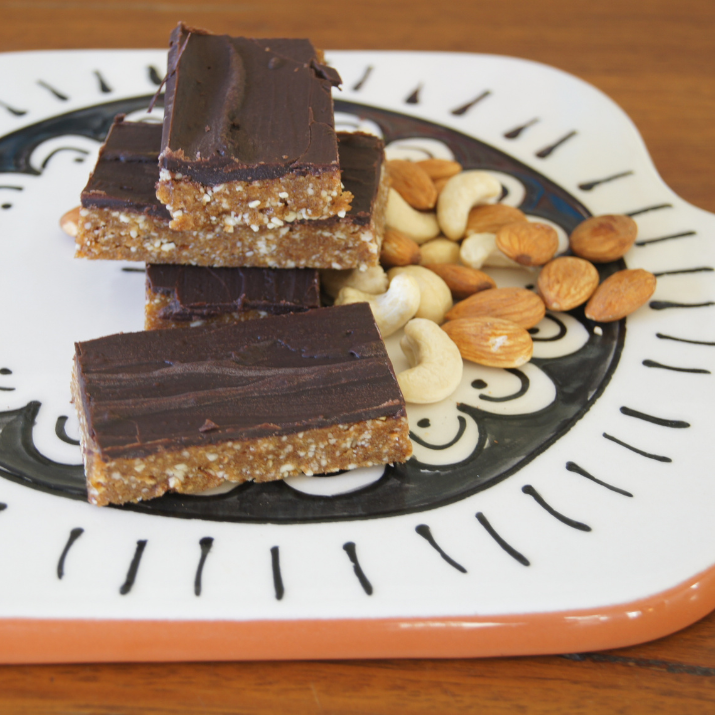
Snickerdoodles are a pretty famous cookie. This snickerdoodle inspired slice tips its hat to the snickerdoodle flavour, but it is gluten free and free from refined sugars. A traditional snickerdoodle cookie is …
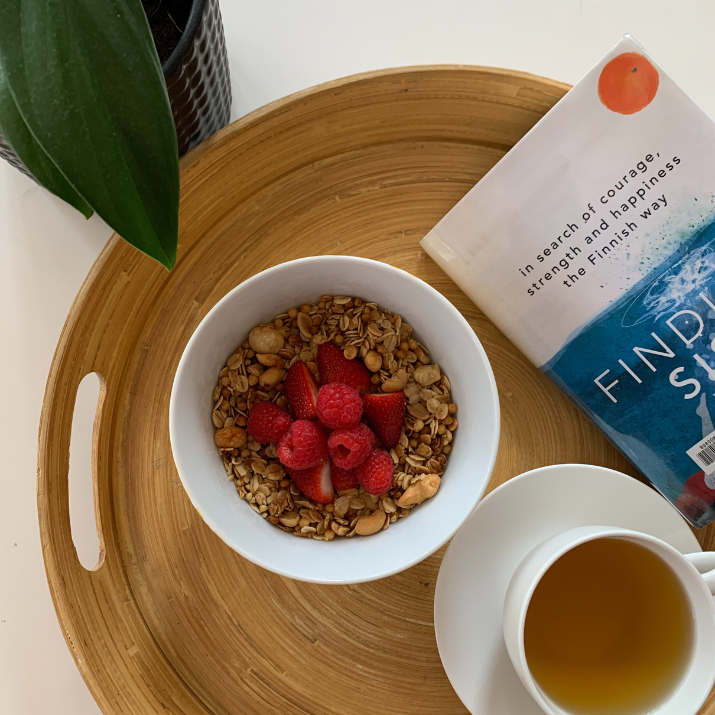
After a recent trip to Sydney where I consumed quite a bit of delicious nutty granola, I was inspired to make a new version at home. This version goes well eaten with …

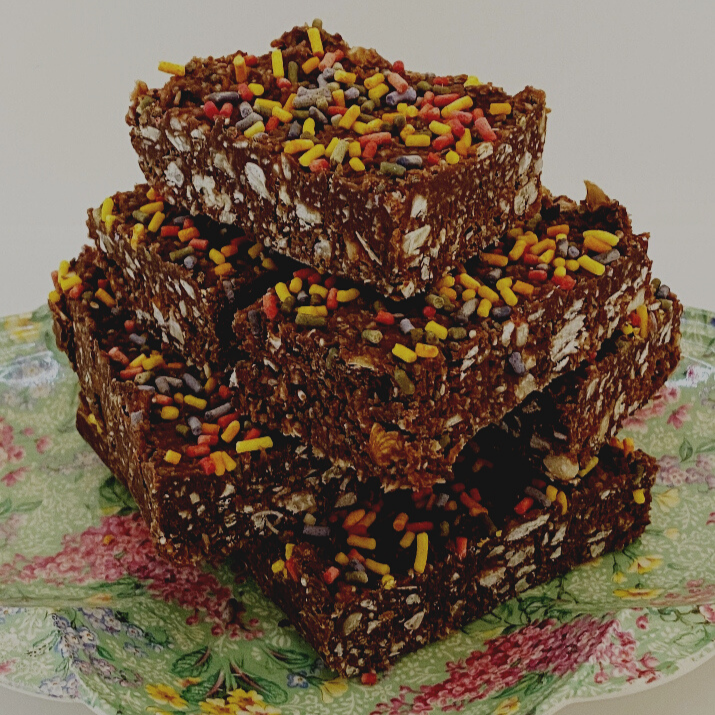
This is a super fun and easy recipe to make with the kids this Easter. Using only a few ingredients and simple steps, you can make these in advance, store them in …
This post is part of the 2021 Christmas Planning series. You can find other posts in the series here. Each Christmas, I have a few close friends that I like to make handmade …
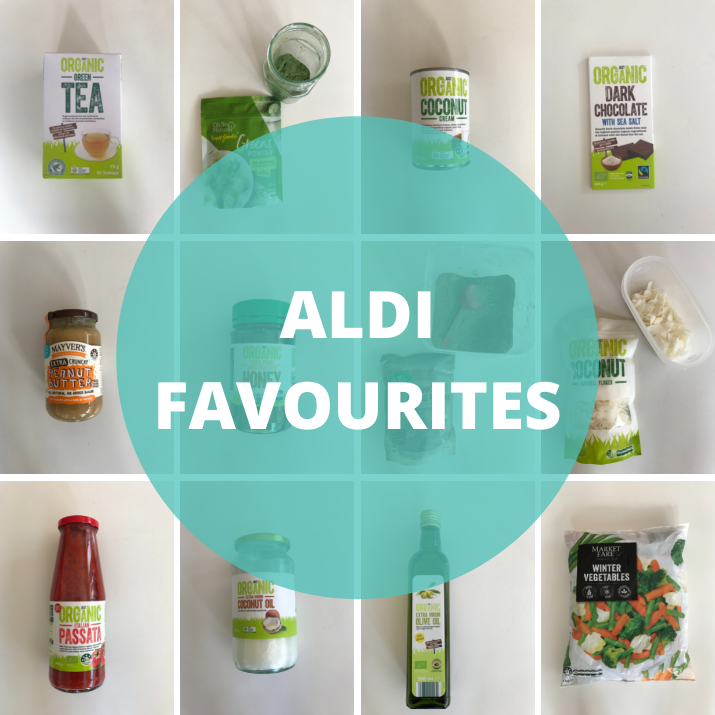
A number of years ago I wrote a series of posts on food shopping for the family. I conducted a survey of readers to see where they were shopping and how much they …
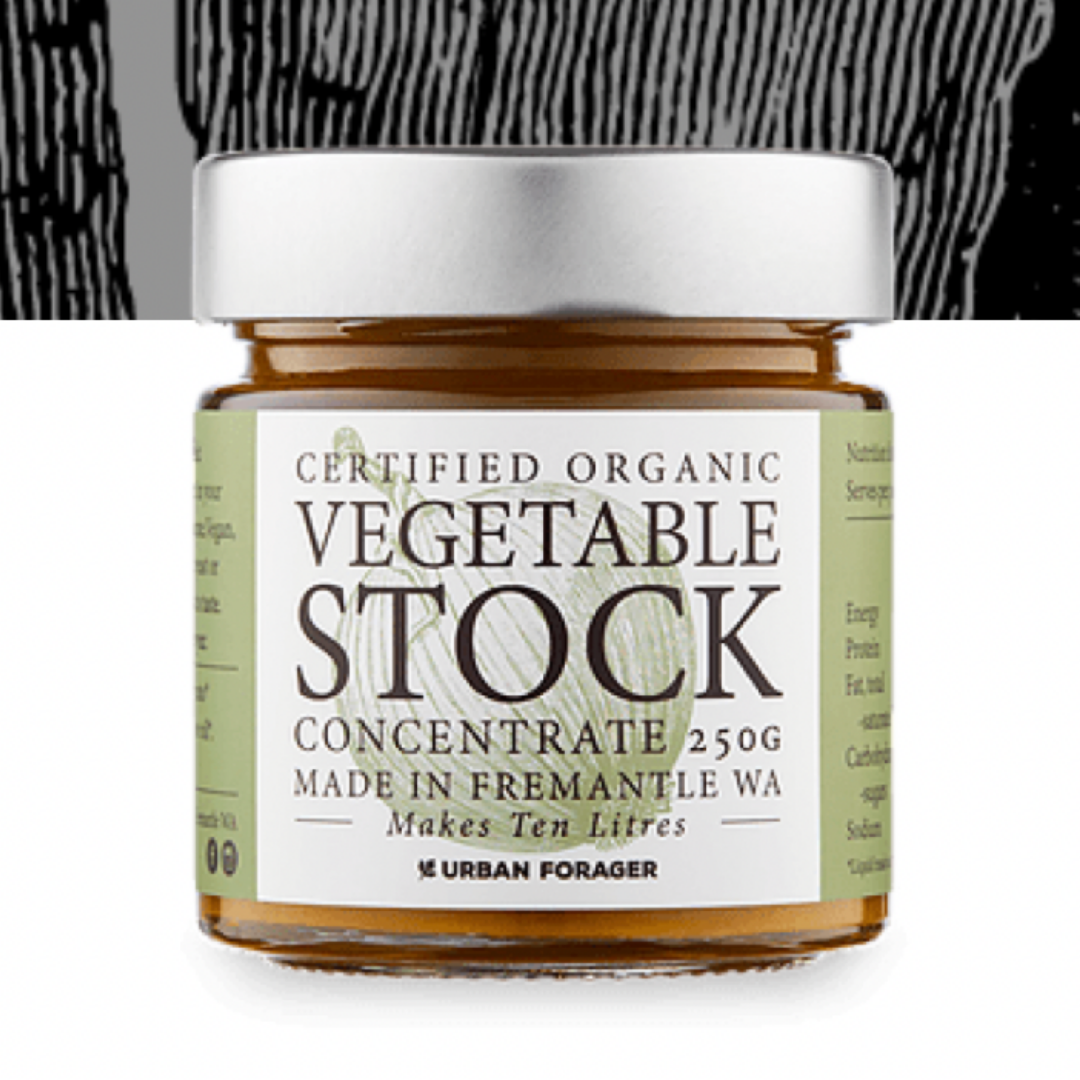
Today I am excited to share a fab family friendly recipe from Urban Forager – Easy Chicken Fajitas. Urban Forager are based in Fremantle WA and make organic stock concentrates from 100% …
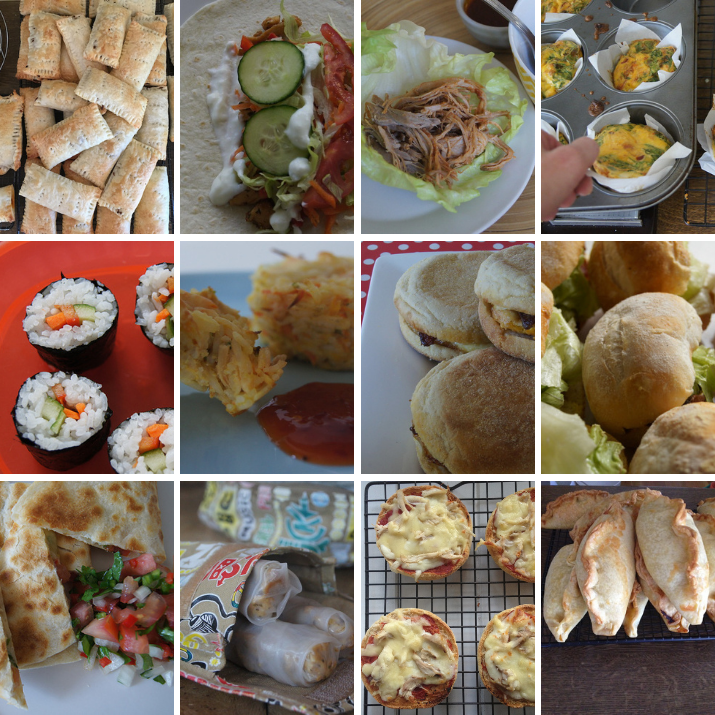
Lockdown lunches for the kids are one element of lockdown life that you can add some variety to! There is such a repetitiveness to lockdown life that even small changes like what …
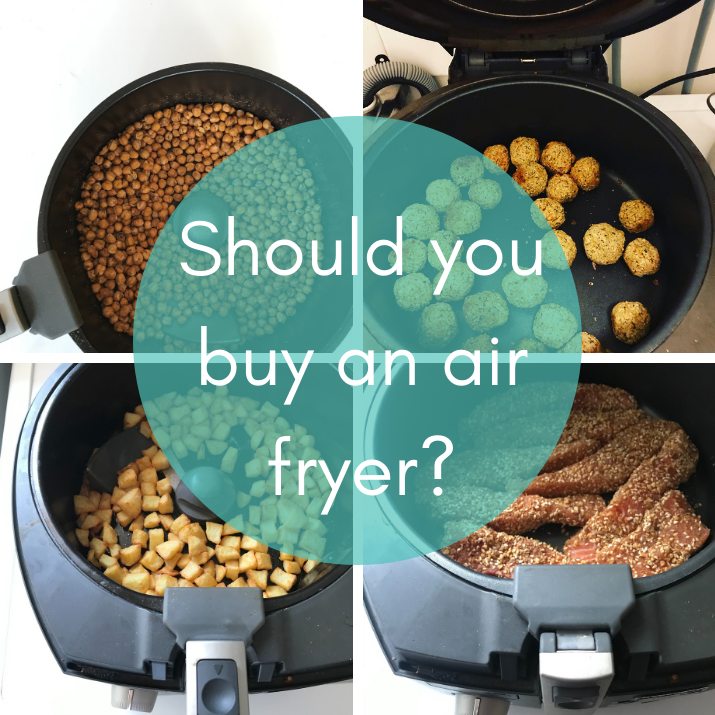
Today’s post answers some very common reader questions! You can read previous answers to readers’ questions here. Should I buy an air fryer? Through email, comments on the blog and the Planning With …
This tasty recipe is from Carla from Keto by Design. I had the pleasure of meeting Carla for the first time when she came along to my blogging course with the Australian …
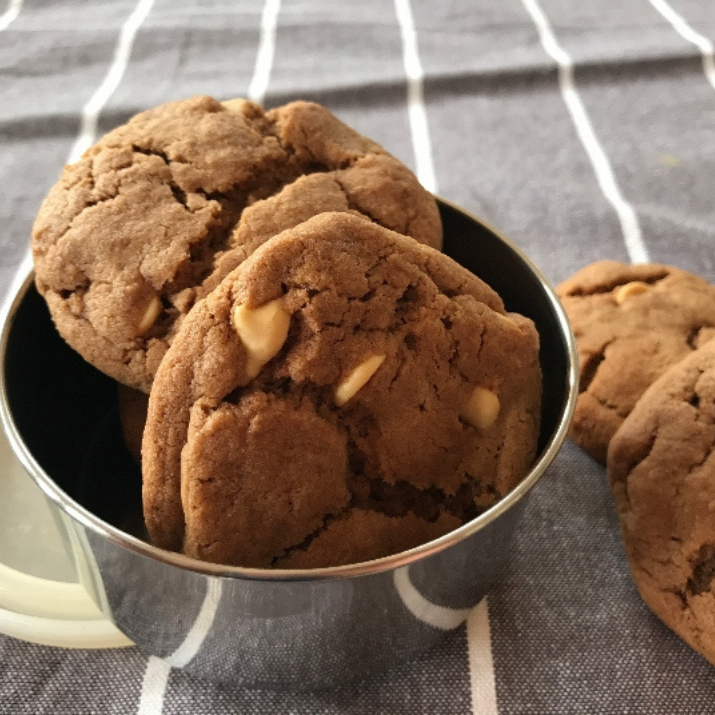
Chocolate and white chocolate chip cookies is a super easy cookie recipe that will be a hit with the kids. This recipe is versatile and makes 42 so perfect for the weekend …
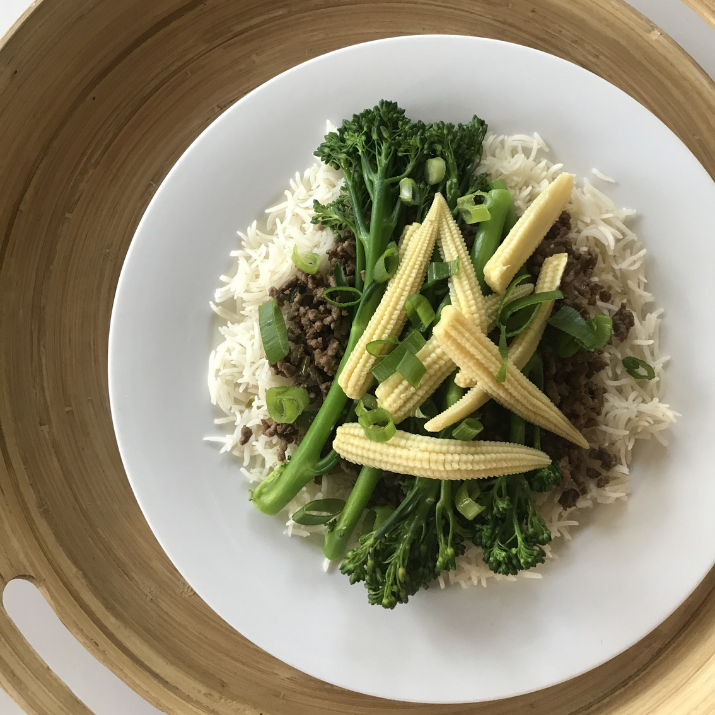
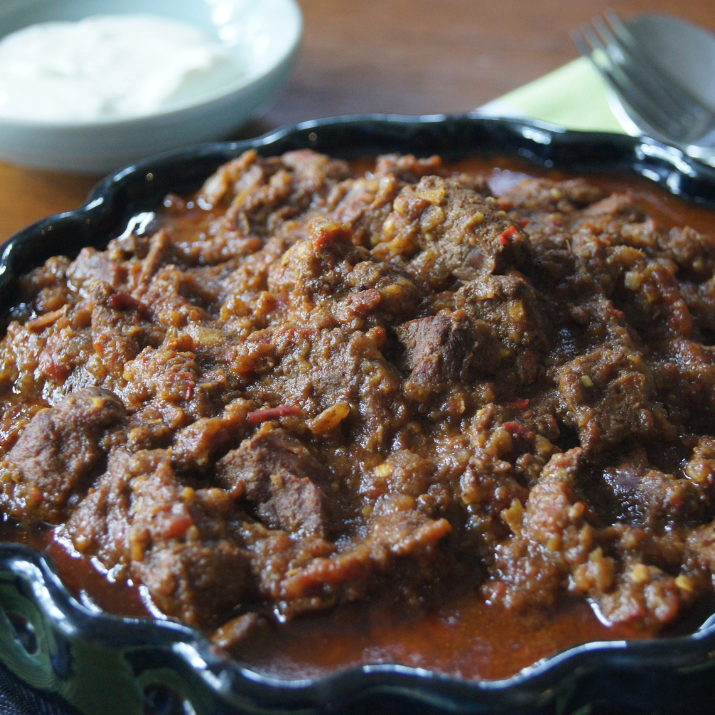
If you would like to head straight to the recipe, click here! This is an easy and quick recipe to make for the family. Beef mince is very popular in our house …
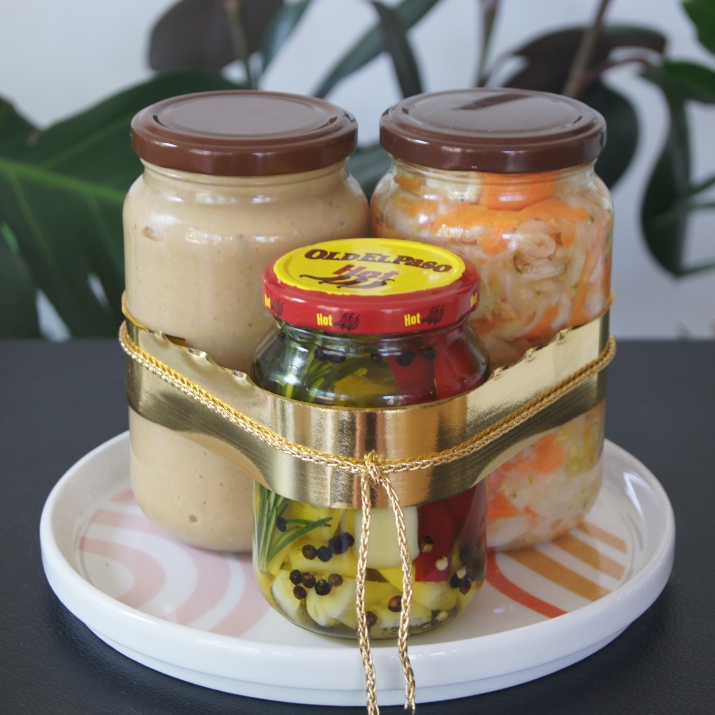
This post is part of my 2020 Christmas series. Click here to find other posts in the series. Healthy homemade Christmas food gifts in a jar are a great personal gift you …
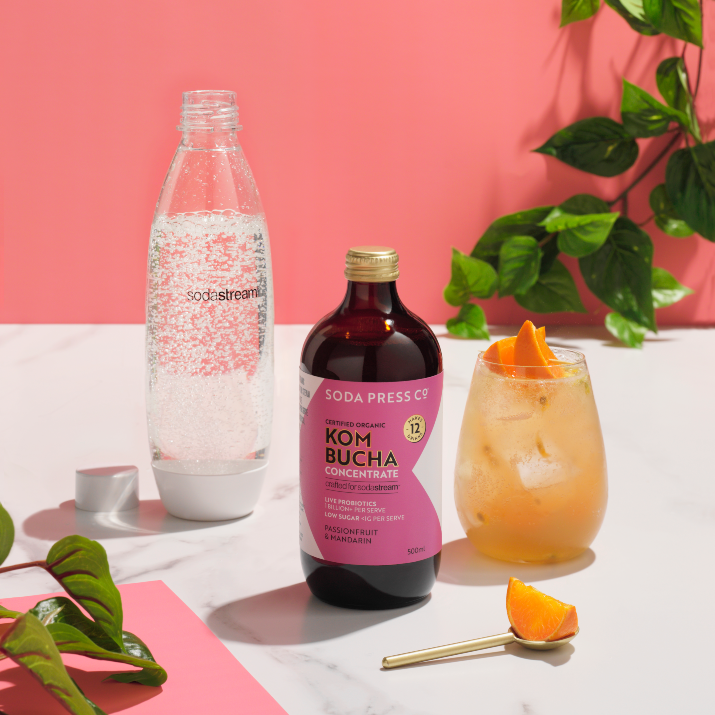
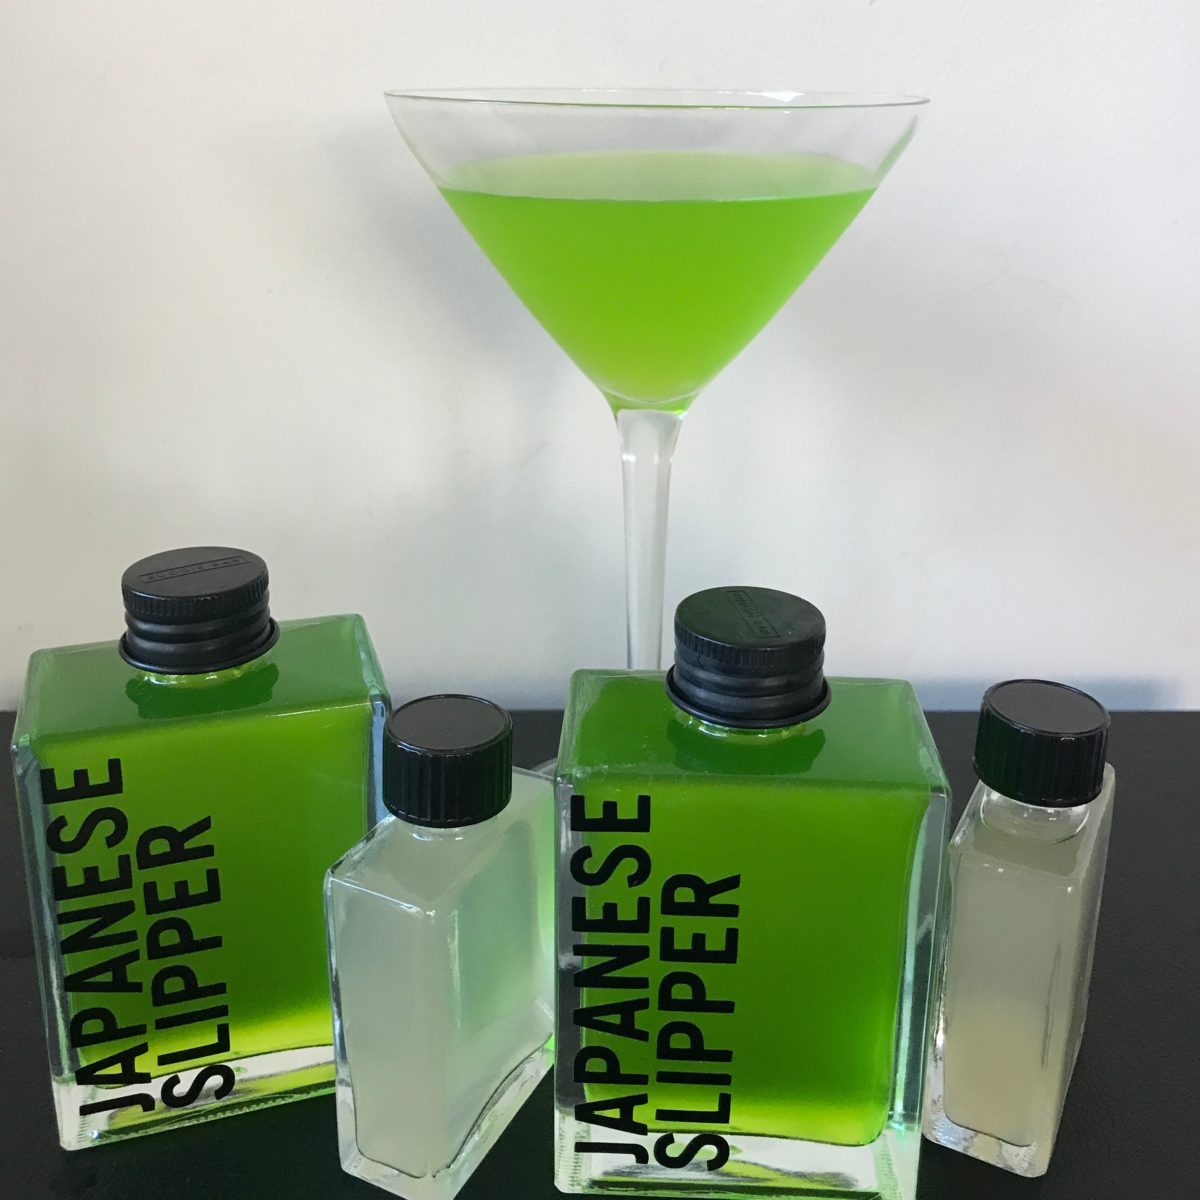
Soda Press Co. was founded in 2014 in New Zealand and has grown to be one of the world’s leading premium organic syrup and concentrate companies. They are a super innovative company …
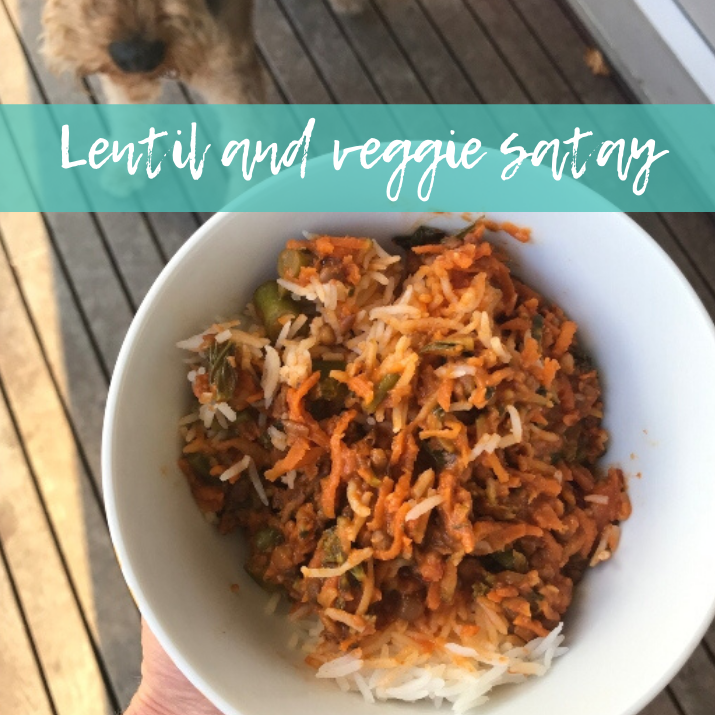
I have two delicious and popular slow cooker satay recipes on the blog: Easy lamb satay – cooked in the slow cooker so the lamb is very tender. Slow cooker gluten free …
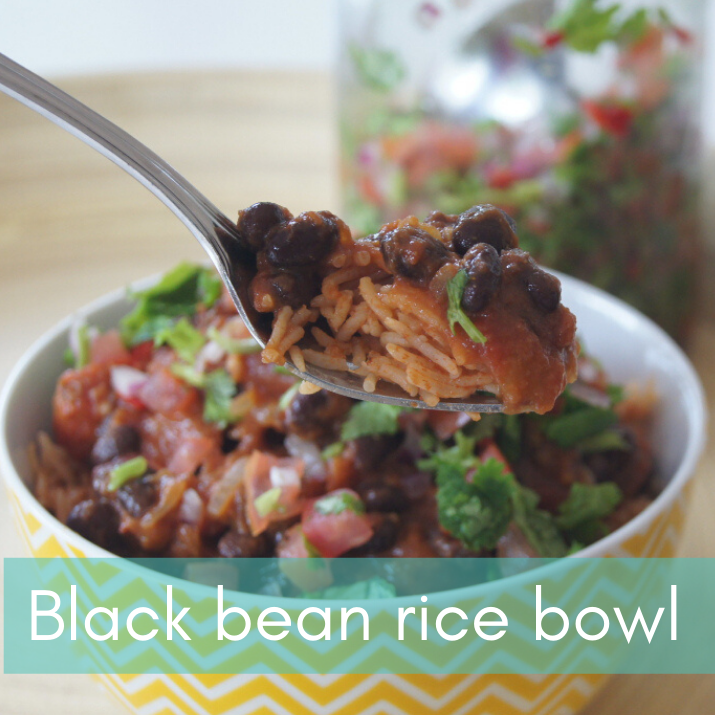
I am trying really hard to black beans. They have never been something I have eaten, but now that I am eating meatless, I am trying to mix up the sources of …

A number of years ago (all the way back in 2011!) I wrote a post sharing some of my favourite bring a plate recipes. It had ideas for starters, salads and sweets. …