I have been looking for a snack ball recipe for a while that would be suitable for the kids to take to school in their lunch boxes. Most energy ball type recipes have peanut butter in them, which rules them out as both school and kinder have a nut free policy.
Then I came across this recipe on a great blog, Eat, Live, Run. It to contained peanut butter in the ingredients, but in a small enough quantity that I thought I would be able to make the recipe work without adding it.
I actually made a number of other changes to the recipe based on the kids’ preferences and ingredients on hand and they worked out super well. They are easy to make but they do take some time as you have to let the mixture chill in the fridge a couple of times through out the process.
I store the Quinoa Snack Balls in the freezer and just take them out in the morning and add to the lunch boxes, so next time I make them I will double the quantities (this batch made 14 but myself and some of the kids did taste quite a bit of the mixture along the way!)
If you are after some more info about quinoa, you can check out this resource Well Being Secrets – 27 science-backed health benefits of quinoa.
And if you would like a savoury recipe using quinoa you can check out this recipe from Jen Reviews – Nutrient Dense Spicy Quinoa Recipe.
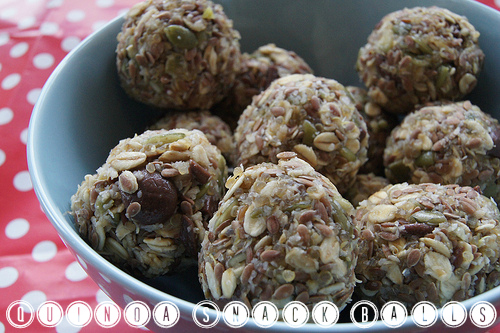
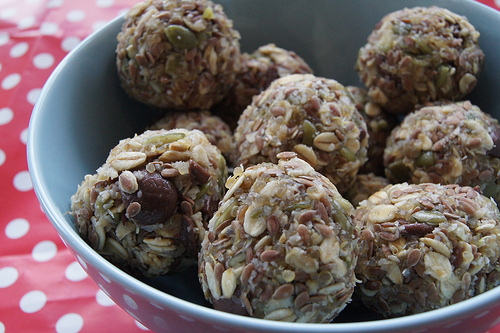
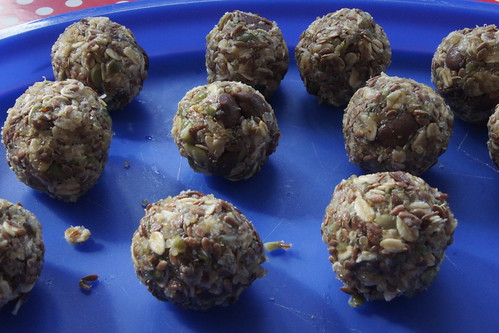
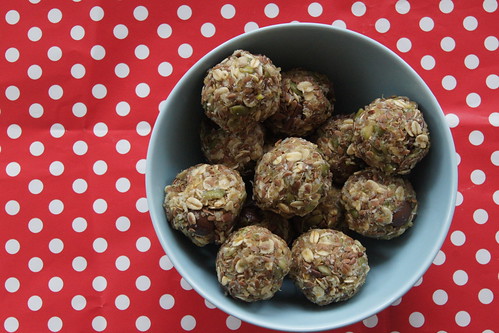
Quinoa Snack Balls
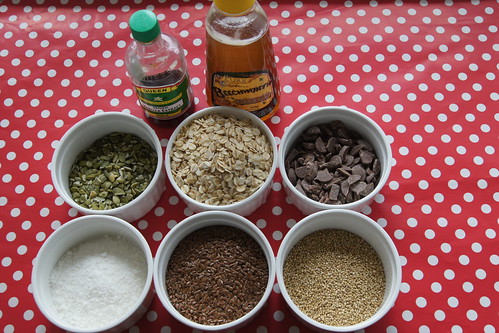
Ingredients:
- 1 cup oats
- 1/4 cup quinoa (uncooked)
- 3/4 cup water
- 1/4 cup desiccated coconut
- 1/2 cup linseed (flaxseed)
- 1/2 cup dark chocolate chips or 1/3 cup cacao nibs
- 1/3 cup pepita
- 1 tsp vanilla extract
- 100mls honey
Method:
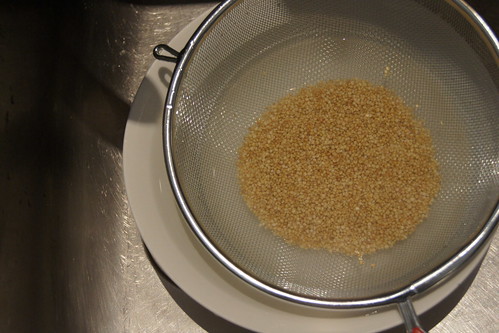
1. Thoroughly rinse quinoa.
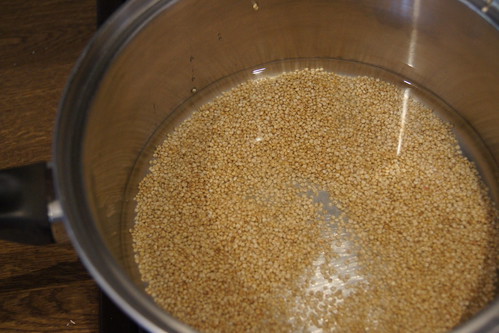
2. Add quinoa to a saucepan with water and bring to the boil.
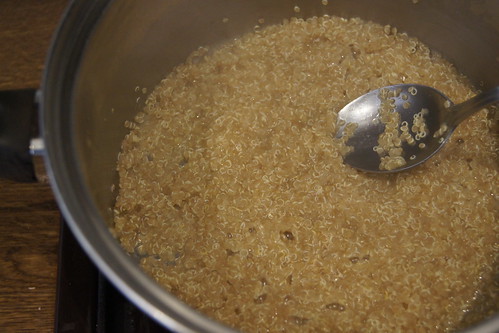
3. Once boiling reduce the heat to a simmer. Stir occasionally and simmer until the liquid has been absorbed.
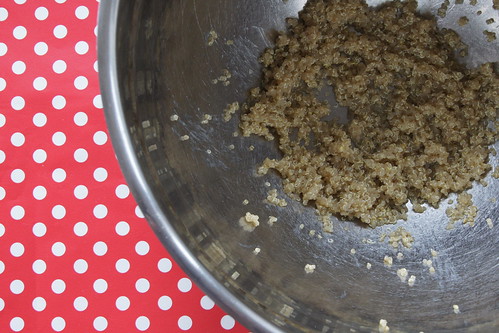
4. Pour quinoa into a large mixing bowl.

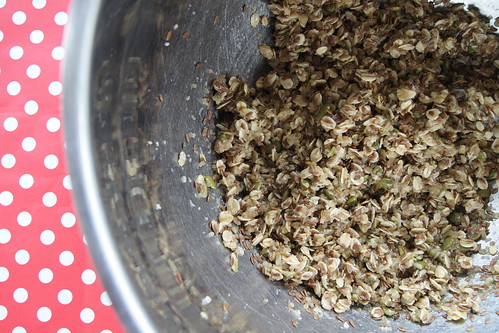
5. To the quinoa add oats, linseed, desiccated coconut and pepitas and mix until well combined.
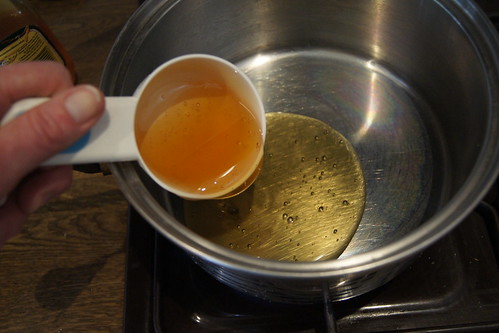
6. Pour honey into a saucepan and bring it to a simmer.

7. Add in the vanilla extract and stir and pour on top of nuts and seeds. Mix until well combined.
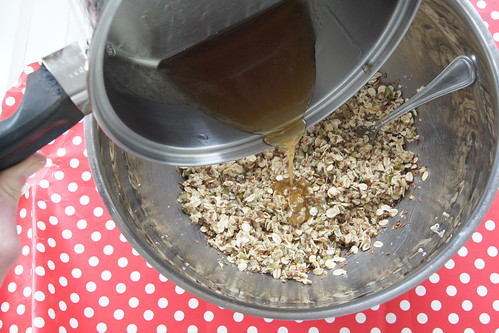
8. Pour the honey mix onto the oats and seeds and mix thoroughly.
9. Before adding the choc chips the mixture needs to cool so the choc chips don’t melt. I placed mine in the fridge for 15 minutes. I also chopped up my chocolate chips so the chunks were smaller.

10. Add the chocolate chips, mix gently and chill the mixture for a further hour in the fridge.
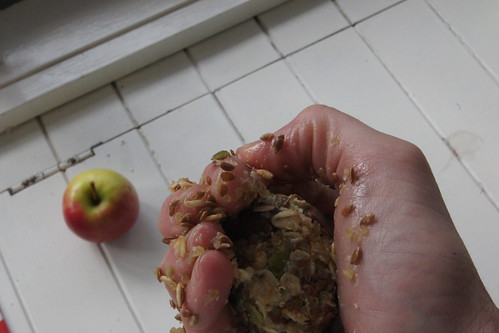
11. When I looked at my mixture I thought there would be no way I could turn them into balls, but by using wet hands as recommended and giving the mixture a good squeeze into shape, the balls did indeed form.
12. Once all the balls are made they need to be chilled for at least a couple of hours before they are ready. Alternatively if you are not going to eat them straight away you can pack them into a freezer container and pop them straight into the freezer. Then just get them out as you need them.
Want to make the lunch box process easier?
In my online course called Meal Prep PrimerI show how you can easily make some easy item for the kids’ lunch boxes that will help make the lunch box process so much easier! Meal Prep Primer shows you how to effectively plan your time in the kitchen over the weekend, and prep food that will make your week days easier.
To keep on top of feeding the family, many years ago I started spending some time on the weekend, prepping food for the week ahead. Even if it is was just one or two things for the kids’ lunch boxes, the difference this made during the week was huge.
As I was rewarded each week for my efforts in the kitchen on the weekend, I began increasing the food I prepped. And the more weekly meal prep sessions I did, the better I became at it. The better I became at it, the less time it took me to do the sessions and the better we ate – win-win all around!
In my Meal Prep Primer course I will teach you the process I have developed over these years. The course will:
- save you time
- save you money
- save you stress through the week days
- ensure your family eats well
- allow you to enjoy meal time more with the family
For three weeks you will receive:
- A plan – the plan outlines what you will be cooking and when. You can tailor this plan to suit your family’s needs and the time you have available. The plan also has clickable links to all the recipes you need to cook for the weekend.
- A shopping list – as you may tailor the plan to suit your family’s needs, the shopping list is broken down into items per recipe. That way you can easily cross off items you don’t need to buy, but make sure you have all the ingredients for the recipes you do intend to cook.
- The recipes – a PDF of all the recipes you will need to cook for the week.
- Plus there is a detailed video and other resources on the course website and further support emails to keep the habit going after three weeks.
You can read more and sign up for the short course here.