
Over the last four and a half years, blogging has evolved into my part time work. We are lucky enough that our house has a lovely study, which was fitted out with desk, shelves and cupboards when we bought it. It has become my home office, but as I started blogging as a hobby, I never really set it up as a home office in the first instance.
I had bought a few things here and there along the way and had a very basic set up, but on my to do list this year was to set up the home office properly. I found I was wasting time looking for things or working amongst piles which made my head feel cluttered!
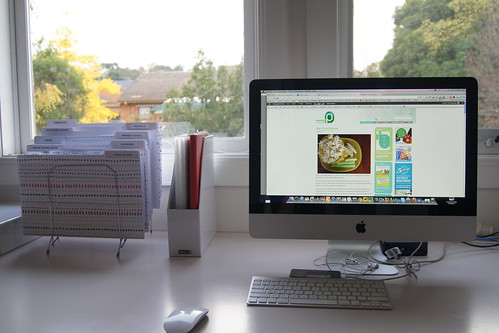
Home Office Organisation – Before!
After a few very busy months at the start of the year, my work area looked like this:
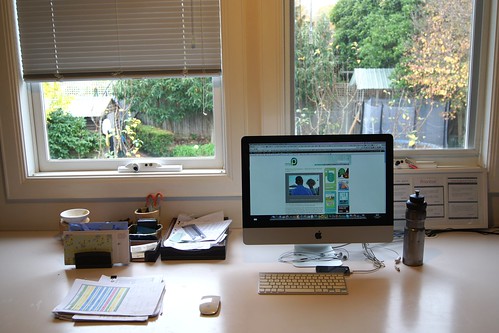
My in tray had stuff in it which had been there for months, mainly as I didn’t know where else I wanted to put it.
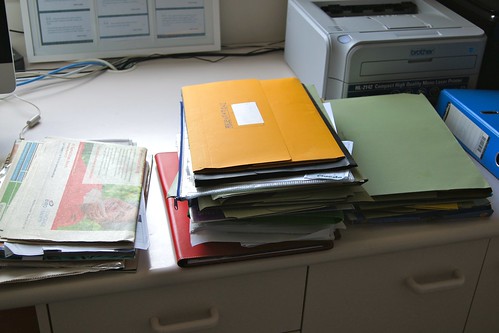
These piles (I moved them out of their corner for the photo!) were just growing and growing, but I wasn’t really accessing any of the info very frequently.
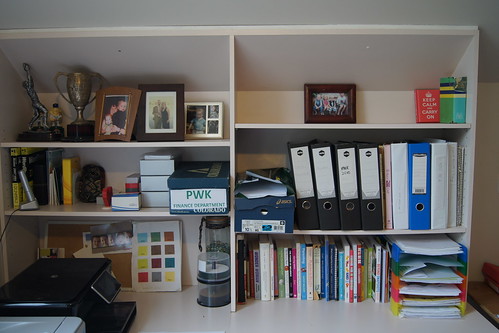
Likewise some of the folders on this shelf, I hadn’t touched in months.
Home Office Organisation – Time To Get Help

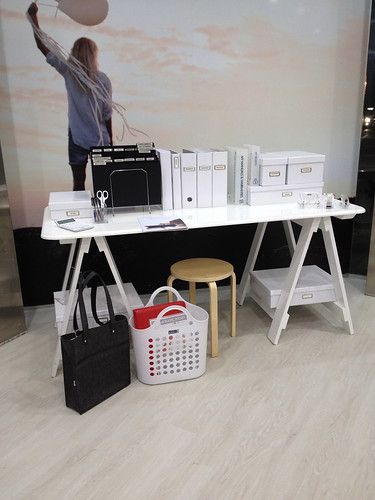
I have mentioned before my love of stationery and when I was at my local Kikki-k not too long ago, I was chatting to a staff member about home office ideas and she suggested I come along to one of their in-store organisation workshops. So I booked myself in for one. The workshops cost $40 and you receive a discount (20% from memory) on any items you purchase with the next week.
The workshop ran for close to two hours and while I think it could be done in less time, I found the session incredibly helpful. It was held in the store after hours and they have some drinks and nibbles as shown above for participants. There were only three other attendees on the night I went, so the workshop is quite intimate and informal.
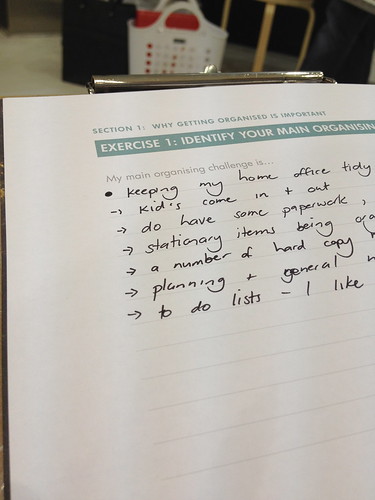
The main focus of the first half of the workshop is for you to work out what your organisation challenges are and what it is exactly you want to organise.
The presenter then went through the fundamentals of paper flow:
1. Entry point
2. Designated home
3. Exit point
We were then taken through Kikki-k’s “6 Station Paper System”. Naturally the system they take you through would work with any home office equipment you used. There was no real hard sell that you needed any of their particular products, which I liked.
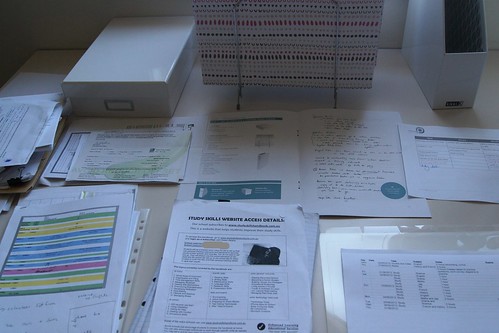
To set up your paper system, you need to write down the paper you have in your office and place it into categories, so you can label and file accordingly. I didn’t do all of this at the workshop, but jotted down a couple of examples, so I would know what to do when I went home.
The photo above was starting to get everything organised at home. I had worked out my categories and subcategories, I just needed to be ruthless about what I kept.

I listed my daily, weekly, monthly and quarterly tasks. Detailing these made the decision making process about what to put where so much easier and the result is a much more user friendly and logical set up in my office.
Stuff I use more frequently is much closer to me, stuff I use only once a quarter can be located in a cupboard or further away from my immediate work area.
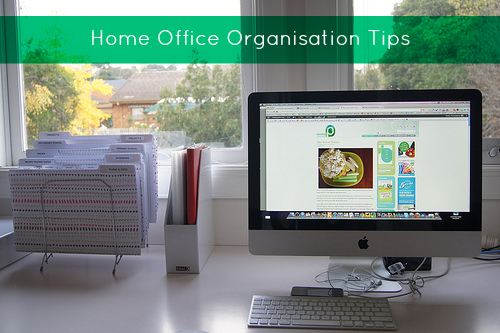
Home Office Organisation – After!
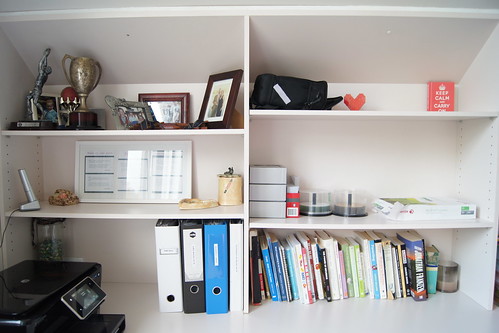
So my shelves now look like this. I actually recylced a substantial amount of the paper from this area. It was no longer relevant or needed. Folders or information that are not needed to be accessed on a regular basis, found a new home in the cupboards that I had cleared out.
I did purchase a number of items after the workshop and now my immediate work area looks like this! I cleared out a number of drawers and my stationery items are now contained within them.
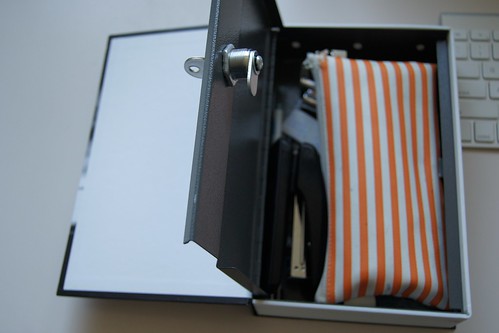
I did by from Smiggle, a lockable box for my home office, not for my valuables, but for my pens and other essential items. I was so frustrated at going to my desk and not having even a pen to write with. The kids would borrow them, but that would be the last I would see of them. So very happy with this solution!

As I am with my current action station. This is the first time I have had a step file and I much prefer it to the traditional in tray system.
I kept my categories quite broad when filing, but still meaningful. For example I have “Primary School” and “Secondary School” which is where I file current paperwork that needs to be actioned for the kids at this age level. I usually have at least one if not two projects going on, so have just named them Project A and B, so I don’t have to continually re-label the files.
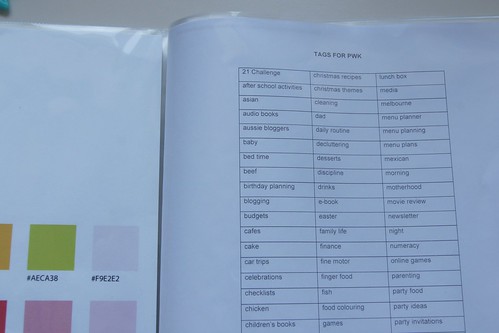
This is my quick reference folder. It holds the info I refer to on a very frequent basis. I have info like:
- lists of colour codes that I use for formatting on the blogs
- list of tags I use on PWK
- frequently used html code
- my regular tasks sheet
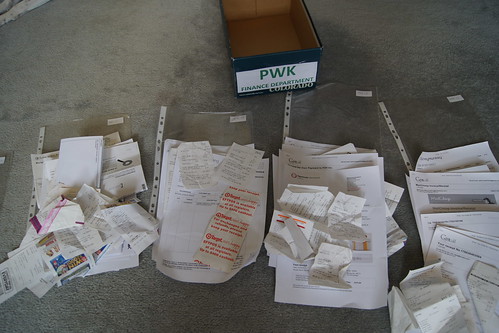
You may have noticed in the before photo, receipts for the business where contained within one box! I used a tip picked up from the Kikki-k workshop to create a binder for my receipts. A plastic pocket for each month.
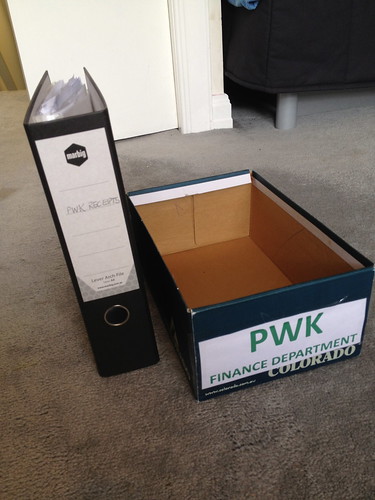
The box of receipts is now organised into one tidy binder.
The organisation of my home office has made two key differences to my work:
- I am more productive as I know where everything is and the things I need frequently can be accessed quickly and easily.
- I feel calmer and have a greater sense of order. I actually found the piles quite stressing. I felt like there could have been things in there that I had missed/overlooked.
And the best part of it is, I have managed to keep it looking like this. I am adhering to my own clean desk policy and it is a much better feeling to sit down at the desk when I work with a clean surface.
How do you organise your home office / study?