

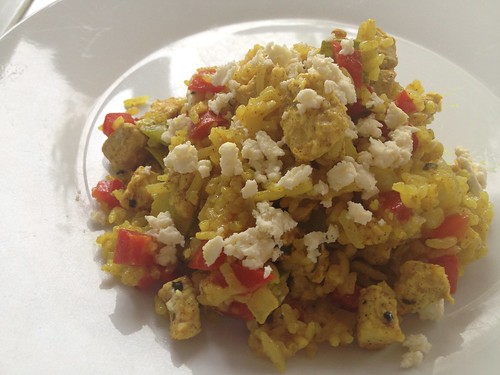
This is the first chicken pilaf or any pilaf actually I have cooked. I based it on a recipe I found on taste.com.au but tweaked it heavily as I didn’t have all the ingredients they had listed in the recipe.
I used plain white rice as that was all I had, so would like to try it again with basmati rice. It was very popular with the family, although the 11 year old said he would like the zucchini replaced with something else next time as it was a bit mushy!
Chicken Pilaf
Ingredients:
- 200g (1 cup) basmati rice
- 1 onion
- 1 red capsicum
- 210 grams zucchini
- 60g butter
- 1 tbs olive oil
- 2 cloves garlic
- 1 tsp ground turmeric
- 1 tsp mixed spice
- 1 tsp dried coriander leaves
- 500g chicken breast
- 1 1/2 cups chicken stock
- 100g feta
Method:
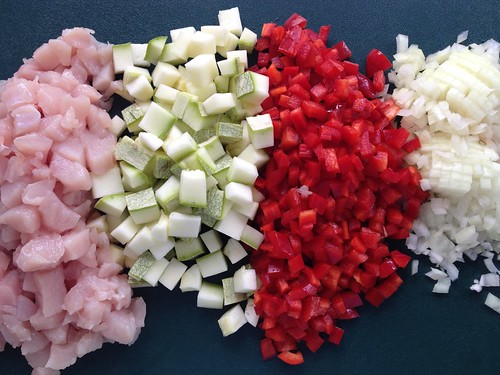
1. Chop chicken, capsicum, zucchini and onion into small pieces.
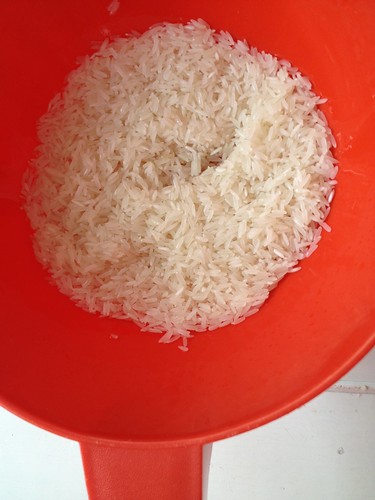
2. Rinse rice under running water and set aside.
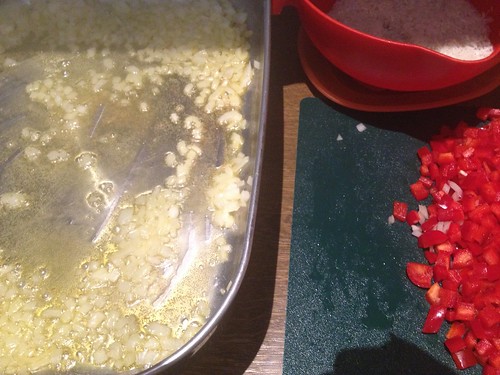
3. In a large frying pan add butter and melt on a medium heat. Add onion and cook for a couple of minutes until the onion is soft.

4. Stir in the garlic, tumeric, mixed spice and coriander and cook for a minute.

5. Add the chicken, rice, capsicum and zucchini and give a quick stir so it is well combined.
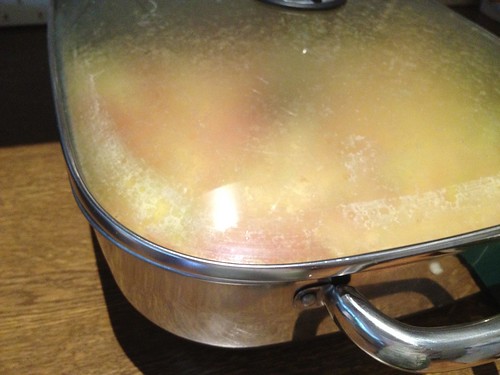
6. Add the stock, bring to the boil and then cover. Cook for 15 minutes on a low heat – making sure all the liquid is absorbed. Turn off heat when this has happened and leave to stand as is for 5 minutes. This makes sure the rice is fully cooked.

7. Sprinkle the feta over the pilaf.
8. Serve and enjoy! There was not left overs from this meal for our family of seven.
- 200g (1 cup) basmati rice
- 1 onion
- 1 red capsicum
- 210 grams zucchini
- 60g butter
- 1 tbs olive oil
- 2 cloves garlic
- 1 tsp ground turmeric
- 1 tsp mixed spice
- 1 tsp dried coriander leaves
- 500g chicken breast
- 1½ cups chicken stock
- 100g feta
- Chop chicken, capsicum, zucchini and onion into small pieces.
- Rinse rice under running water and set aside.
- In a large frying pan add butter and melt on a medium heat. Add onion and cook for a couple of minutes until the onion is soft.
- Stir in the garlic, tumeric, mixed spice and coriander and cook for a minute.
- Add the chicken, rice, capsicum and zucchini and give a quick stir so it is well combined.
- Add the stock, bring to the boil and then cover. Cook for 15 minutes on a low heat - making sure all the liquid is absorbed. Turn off heat when this has happened and leave to stand as is for 5 minutes. This makes sure the rice is fully cooked.
- Sprinkle the feta over the pilaf.
- Serve and enjoy! There was not left overs from this meal for our family of seven.
Our Family Menu Plan For This Week.
Day Meal Type | Mon Wrap | Tue Meat and Veg/Salad | Wed Prpeared Earlier | Thu Soup | Fri Left Overs | Sat Pasta | Sun Quick |
|---|---|---|---|---|---|---|---|
| Week Starting: 21st April | Chicken Wraps - Sweet Chilli Baking - Cinnamon Sour Cream Cake Recipe (Trying new recipe.) | Homemade Hamburgers and Chunky Chips | Fried Rice | Slow Cooker Chicken Noodle Soup | Left Overs | Pasta With Chicken And Spinach | Tuna Rice |
If you are looking for further recipe inspiration, check out my complete list of Family Friendly Recipes. You might like to also check out Planning With Kids Menu Planning App.
![]()
The kid friendly menu planning app allows you to:
- Create weekly menu plans quickly, choosing as many meals per day as you would like to plan for.
- Generate the shopping list for all the meals selected.
- Modify the shopping list to check off items you already have at home.
- Email the shopping list to yourself and/or others.
The most popular recipes from the blog have been included and more will be added on a weekly basis. The app will notify you when new recipes have been added, so you will be able to deliver plenty of variety in your family’s menu plans. Each recipe lists the ingredients required, easy to follow instructions and a photo from the blog.