

I made these travel candles as my second handmade gift for Christmas 2012. You can see how else I have been getting organised for Christmas in my Christmas Planning In July series.
I have traveled a bit over the last six months and as nice as the places have been I have stayed at, I like to take along a travel candle, to freshen up the room. I have candles which have essential oils, so they smell beautiful and have the added bonus of being calming.
These travel candles are made of soy wax and were so easy to make – mainly because I bought a kit which had all the key ingredients and then a couple of other items to make sure it was easy!
I bought the Soy for Tea Cups kit ($19.80) online here. It is very popular to make you own candles in tea cups and I had toyed with the idea of making those, but in the end decided travel candles would be a better option for those I am giving the gifts to.
The kit came with:
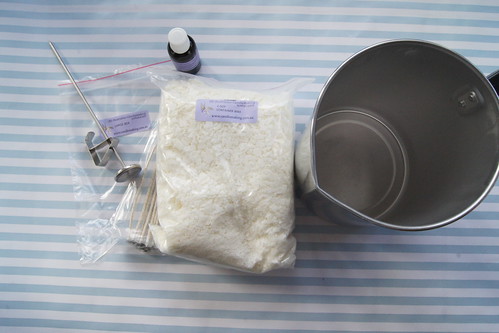
- 1kg soy wax for containers
- 10 medium wick assemblies
- Fragrance – 30ml Pomegranate and Bayberry
- Instructions
I then also bought:
- Thermometer ($16.50)
- Pouring Pot ($19.50)
You could easily make the candles without these last two items, but I intend to make many more of my own candles both for gifts and for myself, so thought it was worth the investment.
I didn’t like the fragrance which came with the kit, so used one of my own essential oil blends (Harmony from Jurilque which is a blend of Lavender, Clary Sage & Geranium.)
While the candles take a number of hours to set, the actual work part of making the candles is not only easy, but quite quick (well less than an hour).
I made six full candles and a little one left over which I will have in my office!
How To Make Your Own Candles
I followed the instructions that came with my kit and this was how I made my very own travel candles:
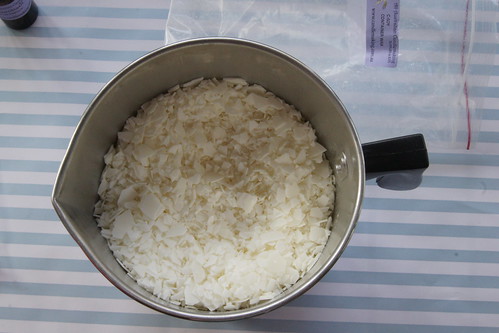
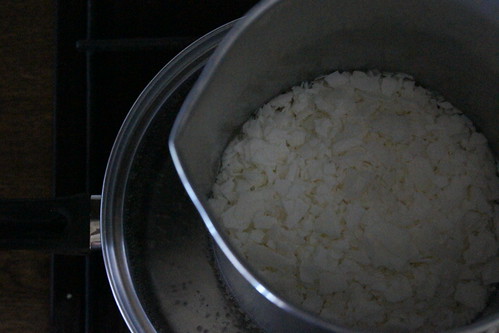
Empty wax into the pouring pot.
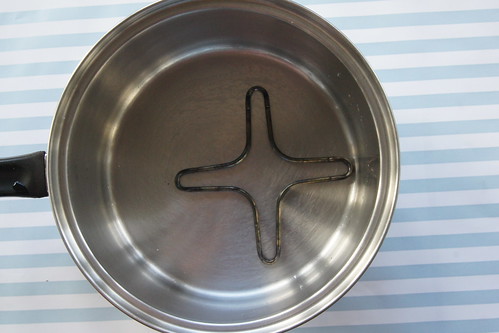
Place something on the bottom of the saucepan you are going to use, so that the pouring pot doesn’t actually touch the bottom of the saucepan. This apparently prevents the wax from catching and burning.
Heat until the water begins to boil, then turn down to simmering.
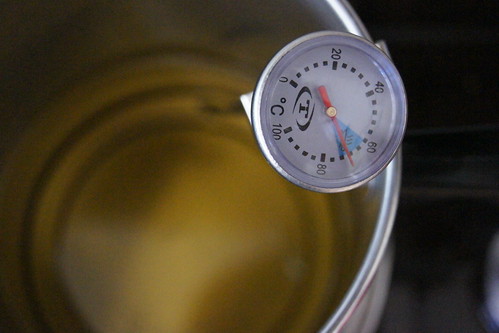
For beginner candle makers like myself, the recommended temperature for the wax is around 60 degrees Celsius. Once it had reached this temperature and all the wax was melted, I added my essential oil and gave a little stir with a metal skewer. The instructions advise to add 10ml per 1kg of wax.
Edit: Thanks to Juanita who pointed out that you need to be careful with the use of essential oils as many essential oils are contraindicated during pregnancy.
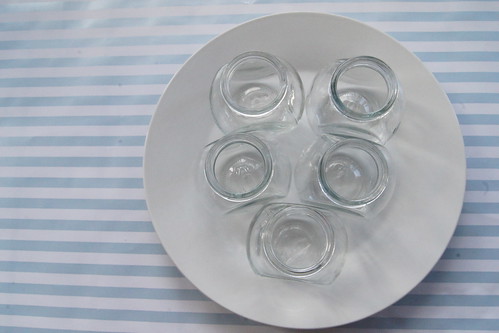
The instructions recommended warming the glass if it was cool, so the wax would settle neatly. I warmed the glas jars in the microwave.
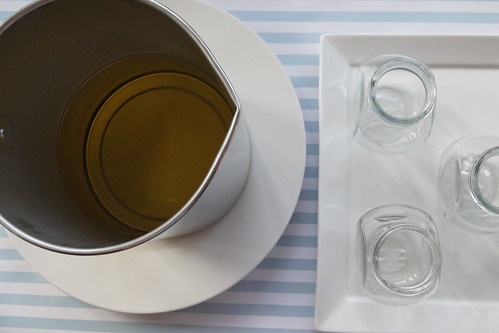
I sat the glass jars on a plate, so if I spilt any, the mess could be contained on it and not on benches etc.

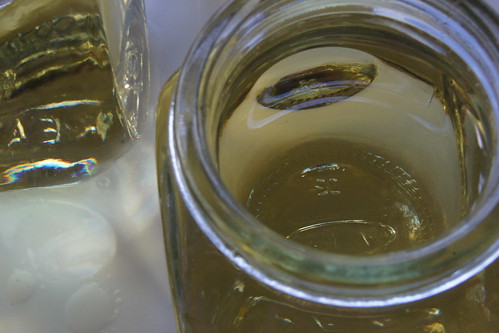
The 1kg soy wax made six full jars.

And one small one and one spill! You can see how quickly the wax sets when it is spread out thinly on a surface.
The wax did pour very easily. It was then a matter of waiting for the outsides of the candle to start to set a little, before I could place the wicks in.
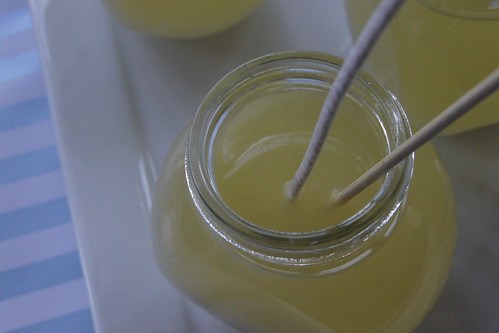
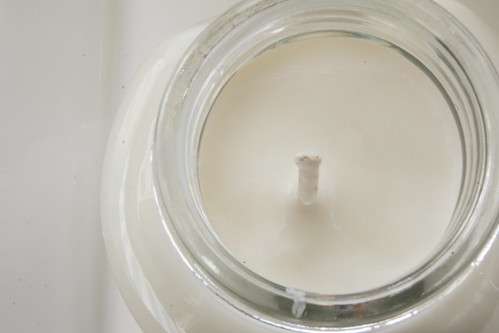
I used a wooden skewer to press the bottom plate of the wick onto the jar bottom.
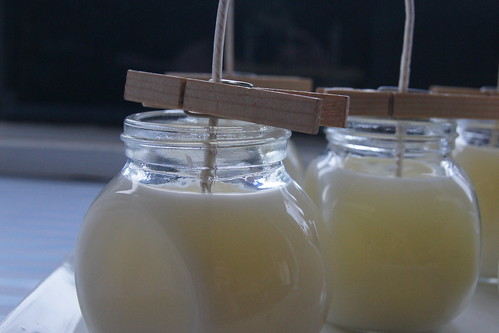
Used wooden pegs to keep wicks upright.
I then let them set over night.

I loved the pure white colour they turned out.

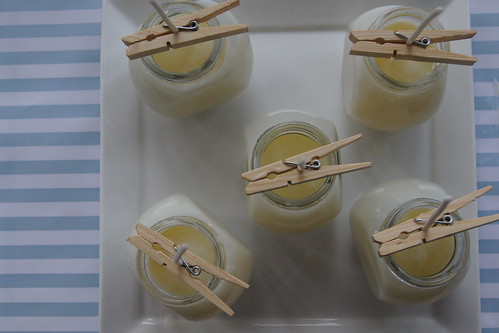
Snipped the wicks to a shortish length. On a recent candle I had given to me, they advised that before lighting the candle each time, you trim the wick. Keeping it short helps to prevent some of the blackening that can occur on glass.
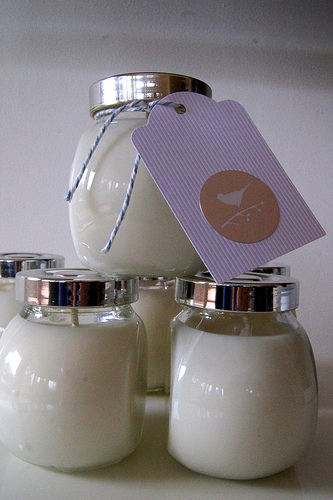
Ready for their lids and card.
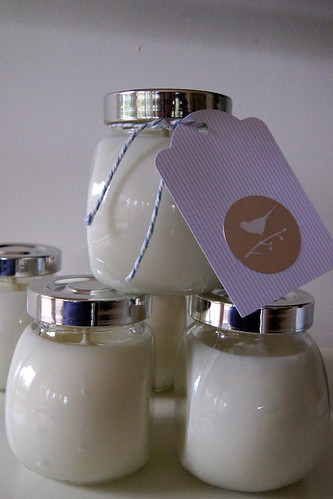
I added some twine and a tag and the handmade gifts are now stashed away ready for December!
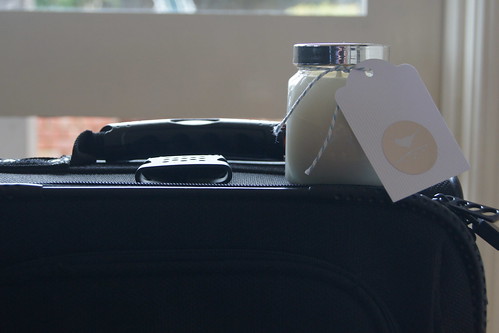
Travel candle now just waiting for a destination!
Have you made candles before?