
The give away has now closed. Congratulations to Miranda who won the DIY Christmas Button Kit from Jackobindi.
This post is part of my 10 week Christmas Preparation Plan for 2011.
What I love about a plan, is that it gives you flexibility to work around and swap activities depending on changed circumstances. This week’s Christmas Planning post is on how to make simple handmade Christmas decorations, which was due a few weeks down the track. But when I received this gorgeous DIY Christmas Button Kit from our sponsor Jackobindi, my daughter and couldn’t wait to make them!
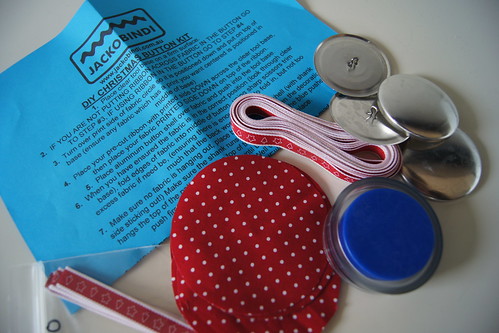
The kits are pretty versatile in what you can make out of them. You can either make buttons to hang from your tree or use the buttons and ribbons to decorate your girt wrapped Christmas presents. We did a bit of both and will take you through just how easy it is to make your own handmade Christmas decorations.
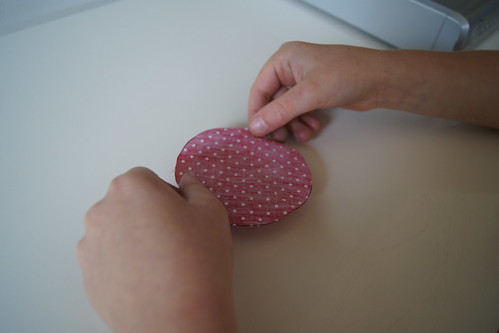
Place the pre-cut circle of fabric with the printed side across the clear part of the button tool.
Place the shell of the button into the button tool and press down.
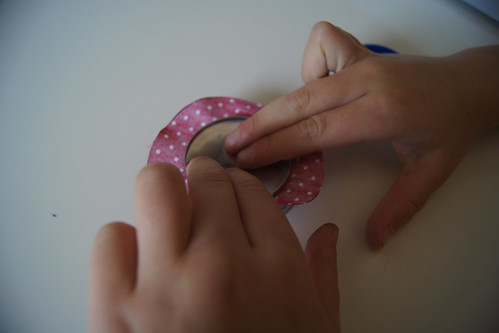
Make sure the fabric is all tucked in.
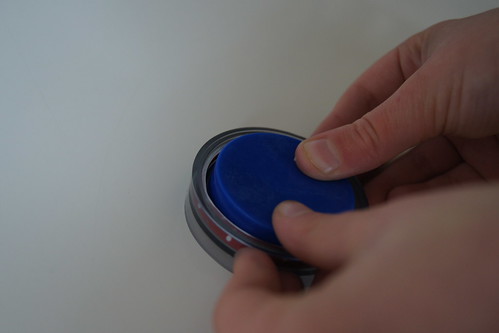
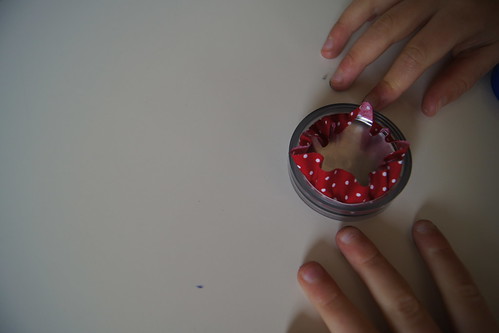
Place the back of the button on top, making sure the shank is facing out. Using the blue piece of the tool, press down on the back until you hear it “pop”.

Push the button out and you have a beautifully fabric covered button. What you do next depends on what you want to do with the button.
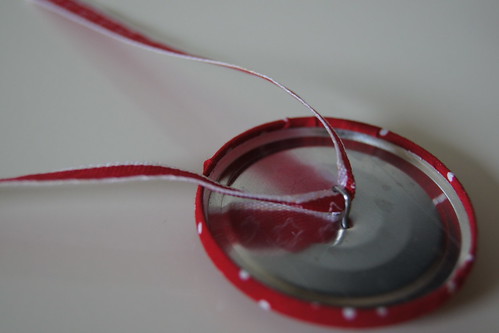
If you are going to make a Christmas decoration to hang from the tree, then cut a length of the ribbon and thread it through the shank. The instructions that come with the kit, give you one way to tie the ribbon up, but we took a short cut!

We dabbed a small amount of fabric glue at the end of the ribbon and then pressed the ends together.

And so the decoration wouldn’t fall forward all the time, we placed a small amount of glue on the back of the button and pressed the ribbon down onto it.

The decorations are now ready to be hung when we put our Christmas tree up on December 1!
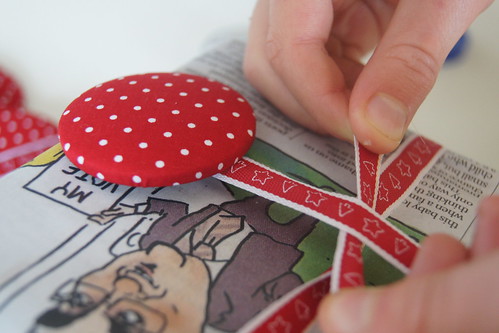
As a decoration for Christmas gift wrapping, we threaded a long piece of ribbon through the button shank and wrapped the ribbon as we normally would.
When it came time to tie the knot, we simply moved the button to one side to tie the ribbon up.
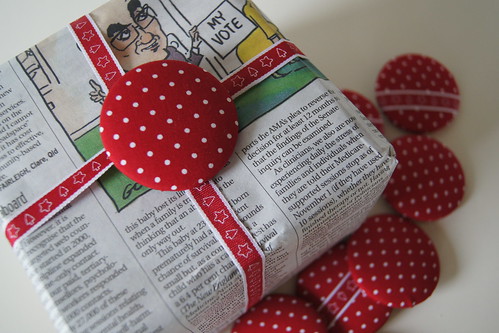
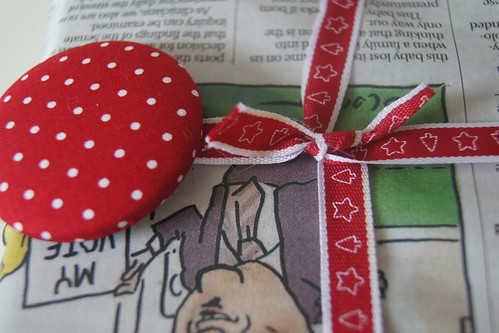
Once the ribbon was tied in a knot, we just slid the button over the top of the knot and we were done!
Jackobindi Give Away
The lovely Kerrie from Jackobindi has one DIY Christmas Kit to send out to a reader of Planning With Kids (valued at $28+). The winner will be able to select from the available kits only. They are selling fast, so we can’t guarantee all the kits will be available when it is time to select the prize.
How to enter
To be in with a chance to win the Jackobindi prize pack:
- Visit Jackobindi, then come back here and leave a comment telling me what else you would like to try and make.
- The giveaway is open to Australian residents only.
- You may only enter once.
- Entries close at 5pm AEDST 13th Nov 2011.
- The winner will be drawn randomly and announced on the blog later on the 13th Nov 2011.
- Winners will be notified by email. If I don’t receive a response within 3 days, another winner will be drawn.
- Good luck!